This is the 4th part of our HDX 1000 review. We are going to go through all the storage options listed below:
- Store content in a remote PC (Covered in our HDX 1000 #2 Review – Basic functionality Test)
- Install an internal SATA HDD inside HDX 1000
- Connect a USB HDD / Flash Drive to HDX 1000 via the 2nd USB port (above the LAN port) at the back panel
- Connect a SD Memory via the Card Reader Port at the front panel
Internal SATA HDD
See our previous post of opening up the HDX 1000 box. You will need to do this to in order install the internal HDD.
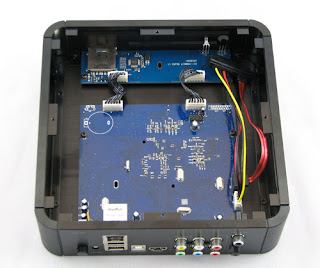
One thing we noticed is that the cover is in a true square shape. No matter how you turn the cover (90 / 180 / 270 degrees clockwise…), you can see the four screw hole positions matched on the cover and on the case – and you can still screw down the cover! This offers some flexibility when determining the installation location of the internal HDD. Based on the included SATA cable length, you can put the internal HDD in the following two directions.
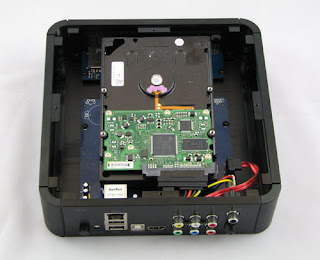
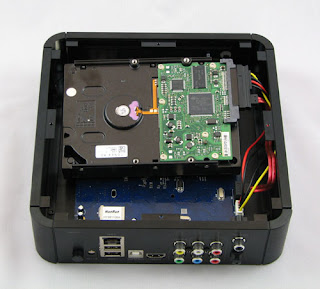
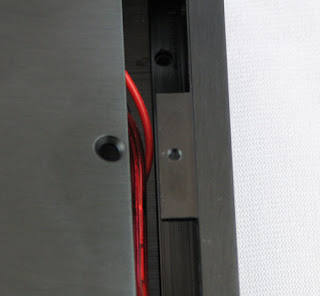
We found the latter one is more appropriate because we don’t want the SATA cable to sit right above the output video channel (just in case there is any interference…). You need to be careful not to snap the SATA cable (see the picture below) when putting the cover back or you will run the risk of damaging the SATA cable.
If this is the first time you have installed this HDD to the HDX 1000 machine, you will be prompted for the NMT application wizard. The functions of the NMT application will be explained in the next article. At this point, we’ll just go through the installation process.
- Select if you want to do typical or fresh setup. The typical setup will keep the content file already in the HDD. The fresh setup will do a fresh format. Both options will install the NMT application.
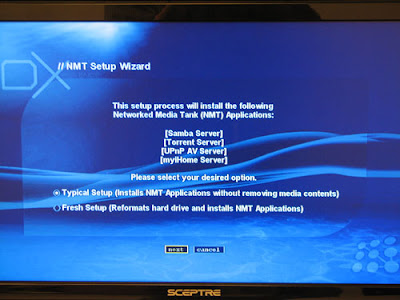
- I want to keep the contents in the HDD so I chose the typical setup. The system will display a warning message. Just click “next” if this is the right option.

- Select where the NMT application setup file is located. I can never successfully initiate the process by connecting to the online server. Therefore, I pick the USB option. (You need to download the NMT application setup file from HERE to your USB Drive root path. Be sure to have the related firmware updated and rename the downloaded file to “syb8634.nmt”. I wasted a lot of time by not having HDX 1000 locate the setup file because I didn’t rename the file!)

- You will see the installation process begin. After it finishes the process, it will re-boot the system.

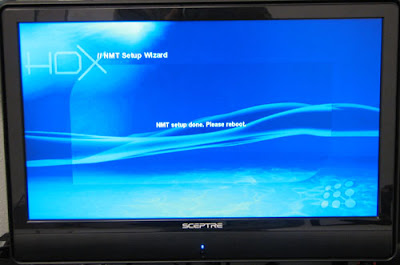
After your HDX 1000 is re-booted, you can see the “HARD_DISK” folder in the “Media Source” page. You can navigate to the content you want to playback in the HDD from here.
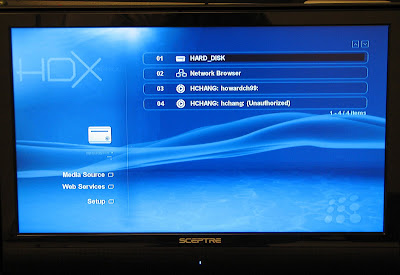
External USB HDD / Flash Drvie or Memory Card
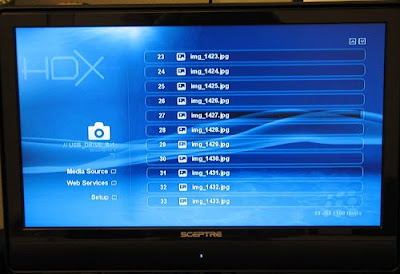
The HDX 1000 has two USB ports on the back panel. Only the bottom one (above the LAN port) works! HD Digital Technology has moved the internal circuitry of the top USB port to support the memory card reader on the front panel. The top USB port can only work as a USB power charging port. You can plug in your USB HDD or USB Flash Drive to the bottom USB port. Just like in the computer system, the USB devices can do plug-and-play on the HDX 1000. You will be able to see your USB device pop up in the “Media Source” page and locate your contents from here.
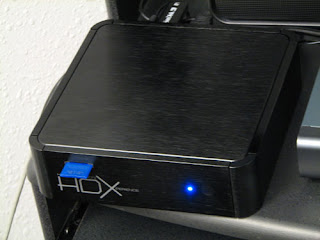
You can also plug in a SD card to the card reader slot on the front panel. Among all the Syabas based NMT player, this is the feature only offered by HDX 1000. It comes in very handy if you want to display some pictures from your digital camera. The card reader slot also supports hot-swapping. You can plug in your memory while the system is running, without damaging the memory or your HDX 1000.
Please note that the SD memory card will be shown as a USB drive under the "Media Resource" page.

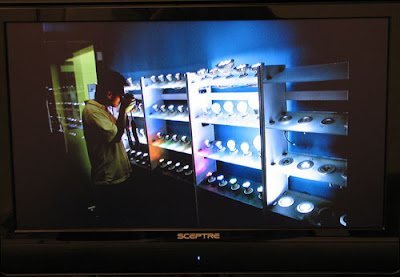
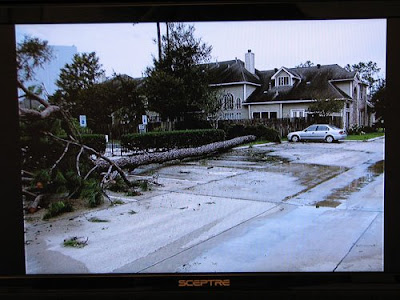
Here are two pictures displayed on TV using HDX 1000. The first one is taken when I went to source LED lights in Chinese. The second one is a tree fall-down in my community during hurricane Ike.
Some Suggestions for the Next Generation Media Player
- Can the USB ports be moved to the front panel? It will be easier to access to the USB port while the HDX 1000 is placed in a home entertainment cabinet.
- I really love the card reader design on the HDX 1000. It is in the front panel so there are no complaints about the port location. If the Syabas software can offer an interface to do small icon preview, it will make the picture browsing experience more friendly. Besides, if the “next” button on the remote controller can be designed to activate the next picture stored in the same folder, it will reduce a lot of button hitting efforts.
Enjoy the review? Want me to cover some other things on the HDX 1000? Please give me some feedback. In the next article, I’m going to go over the services (web, ftp…) provided by the HDX 1000.
Read the Part 5 of the HDX 1000 Review - Services
Go to the HDX 1000 Product Page at AmperorDirect.com


No comments:
Post a Comment